Combat Guide

Here is a combat guide that will help you win battles in Dragon Age: The Veilguard. See all the combat system tips to defeat enemies here!
List of Contents
Combat Guide
| All Combat Tips |
|---|
|
|
Prepare for Battle: Abilities, Gear, and Companions
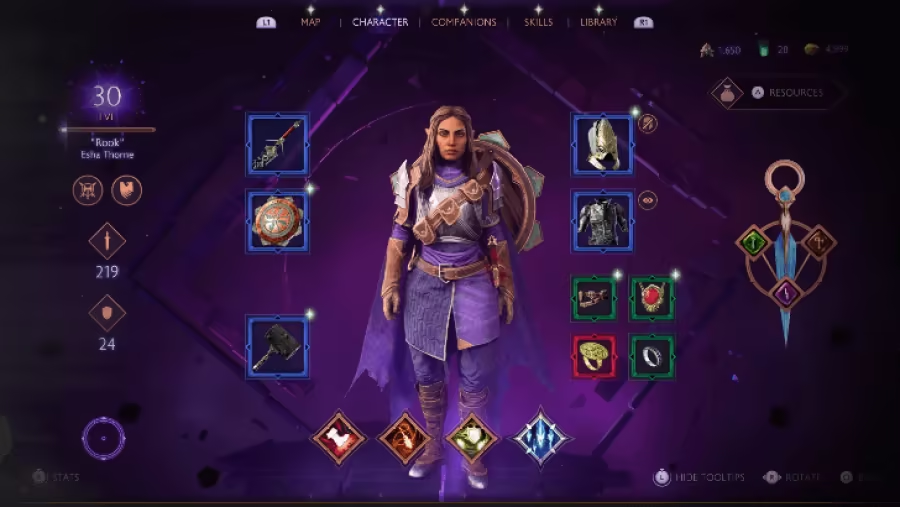
Before you hop into combat, make sure you are equipped with the proper abilities, and gear, as well as being accompanied by the most appropriate companions for a quest.
Choose a Class and Specialization for Rook
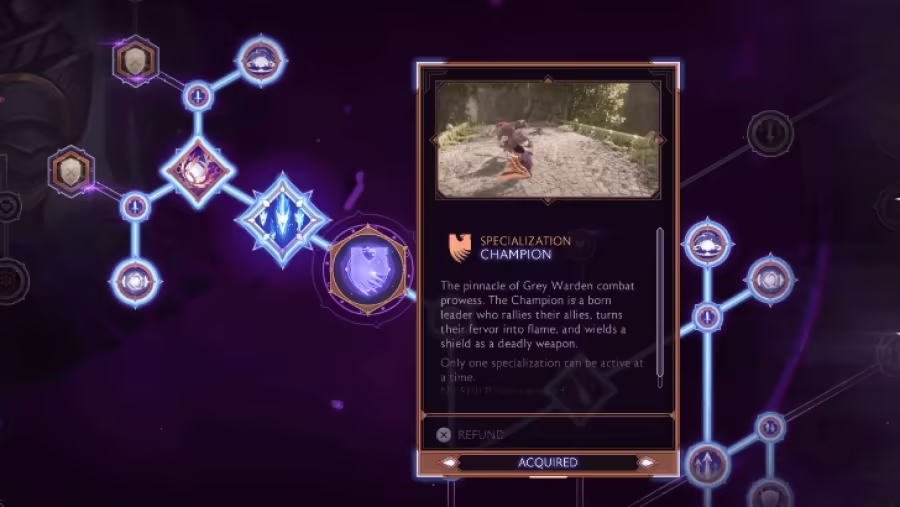
At the start of the game, you need to select one of the three classes available: Warrior, Mage, and Rogue. You also need to decide which specialization Rook will focus on.
For example, if your Rook is a Warrior and you want them to have strong defensive skills, then progress the Champion skill tree!
Assign Abilities and Equip Runes
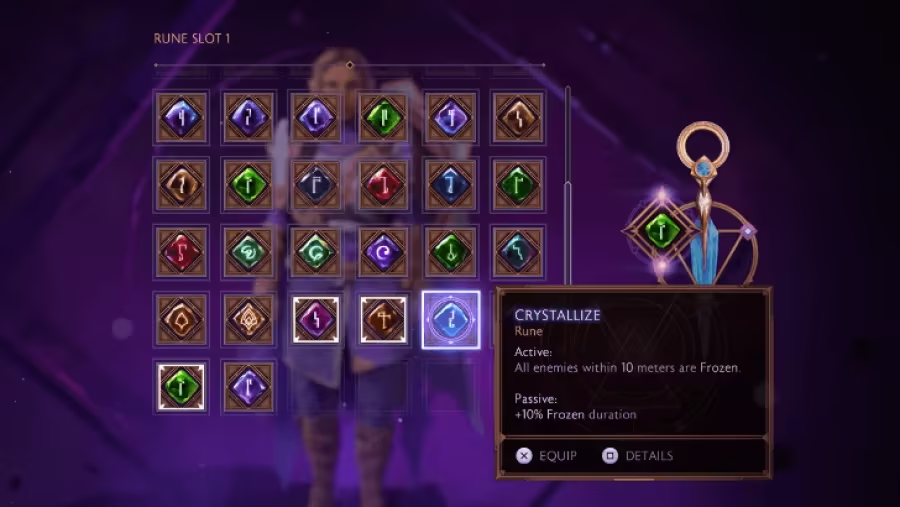
After deciding on a class and specialization, make sure to assign the correct abilities and ultimate attack on the Character menu. Also, equip runes to enhance your power set and gain access to unique abilities.
Equip Proper Armor and Weapon
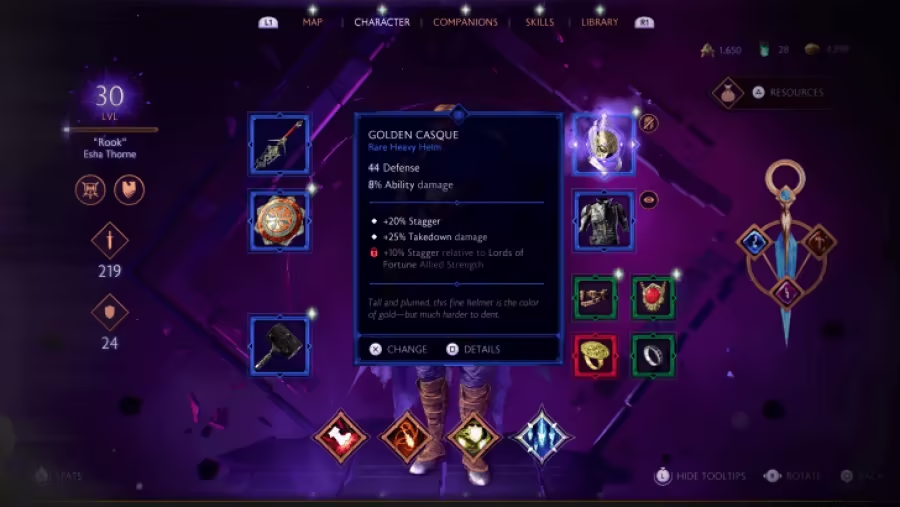
The armor and weapon you equip depend on Rook's class and specialization as well. For example, if Rook is a Warrior and on the Champion branch, you should give them a full set of heavy armor. If you fully want to invest in the Champion branch's defensive capabilities then give them a sword and shield.
Bring Companions to Aid You in Battle
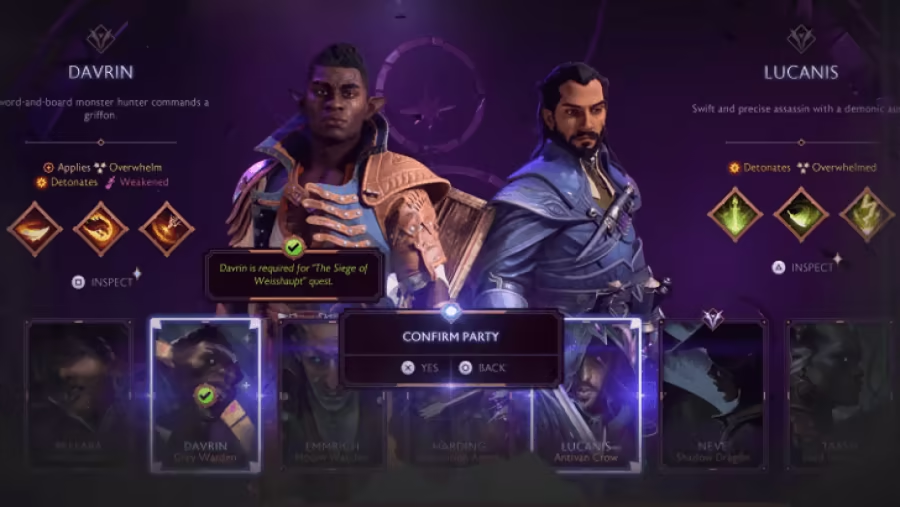
Dragon Age: The Veilguard has 7 recruitable companions who can aid you in battle. Companions have their own unique set of abilities. Lucanis for example has crowd-control abilities. Do note that certain quests require a specific companion in your party.
List of All Playable Companions
Be Aware of Enemy Vulnerabilities
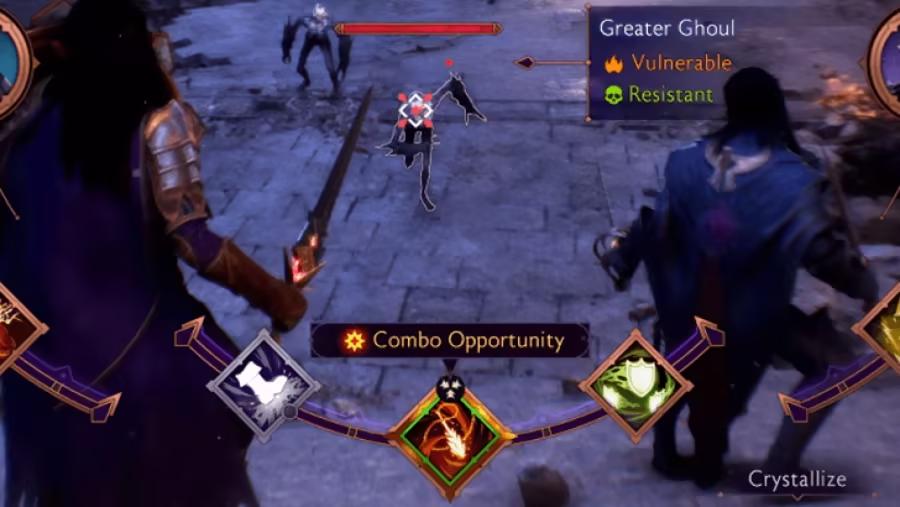
All enemies have damage vulnerabilities and resistances. As shown above, abilities effective against an enemy have a green outline.
Dodge and Parry Enemy Attacks
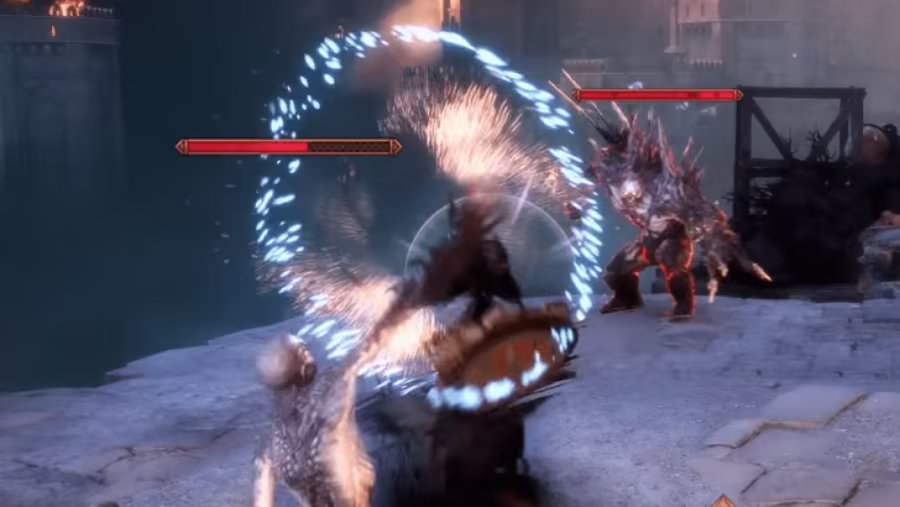
Dodging and perfectly blocking an enemy attack to perform a parry are integral parts of the combat system. Depending on the traits and passives you have unlocked, different effects will be activated when you dodge or parry.
For example, if Rook is a Warrior and has a passive called Fiery Resolve, their melee attacks will deal fire damage after a successful parry.
Watch For the Marker Above Rook's Head
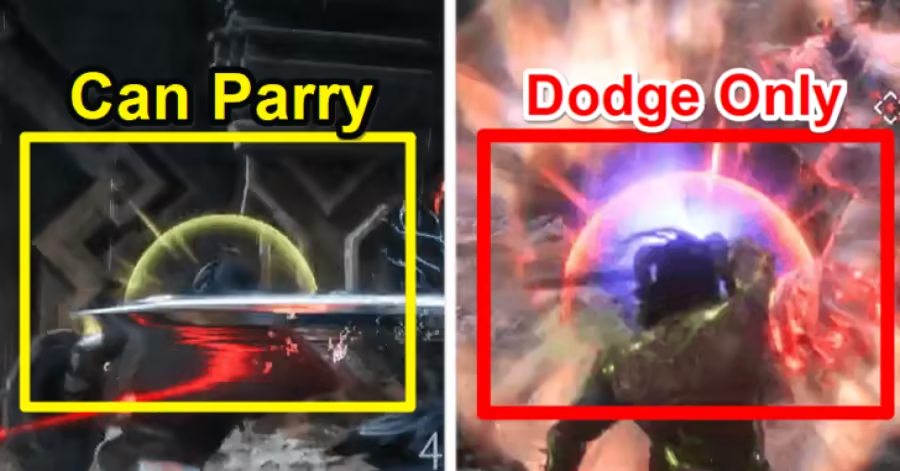
A marker will light up above Rook's head when an attack is incoming, signaling the player to either parry or dodge an attack. The marker will flash yellow if the incoming attack can be parried, and will flash red if it can only be dodged.
Deflect Enemy Projectiles with Parry
Weak enemy projectile attacks such as from Venatori Mages can be deflected with parry. Parrying a projectly will deflect to a nearby opponent or back to its caster and damages them.
Command Companions During Battle
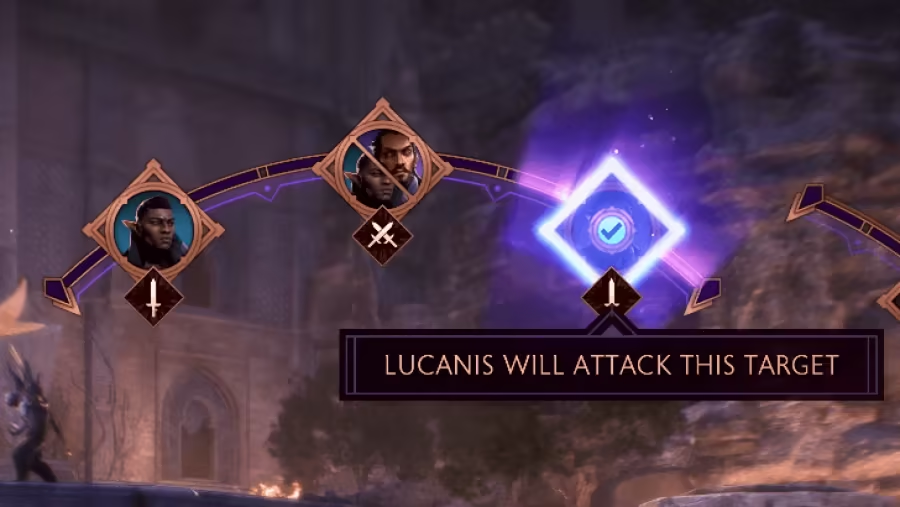
Using the Ability Wheel during battle allows you to command your companions to attack an enemy and also have Rook cast an ability. Do note that using the Ability Wheel pauses the game so it can allow you to carefully plan your next move and chain combos as well!
You Can Cast Rook's Ability Without Pausing
It is worth mentioning that you can use abilities outside of the Ability Wheel. On the PS5, hold L2 and click on one of the buttons to cast an ability. For ultimate attacks, press R3 + L3 at the same time!
Stagger Enemies to Deal Bonus Damage
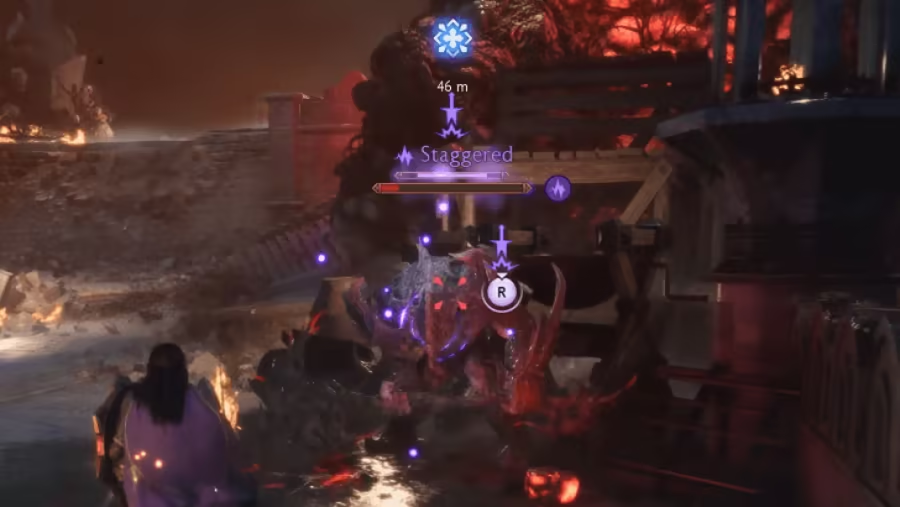
Enemies have a purple stagger bar that gets filled up whenever you land an attack. When an enemy is staggered, they take more damage from you. You can also deal a takedown attack to staggered enemies.
Certain Enemies Have Armor
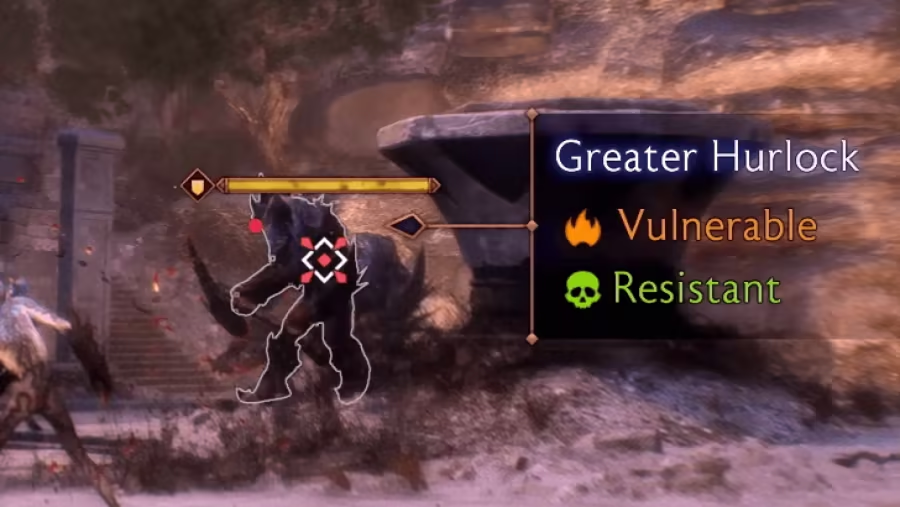
Some enemies have armor that need to be removed before you can deal damage against them. A yellow bar on top of an enemy indicates that they have an armor and heavy attacks are the most effective against armored enemies.
Certain Enemies Have Barrier
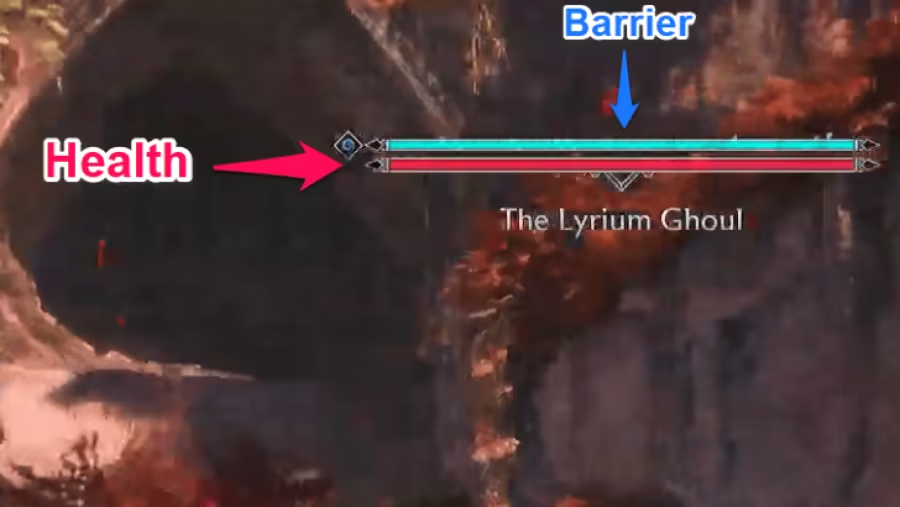
A barrier exists on some enemies, protecting their health. A blue bar over their health indicates a barrier, where ranged attacks with RT/R2 or Right Click deal more damage against it. Barriers regenerate if the enemy hasn't taken damage after a period of time.
Use Buffs to Boost Stats
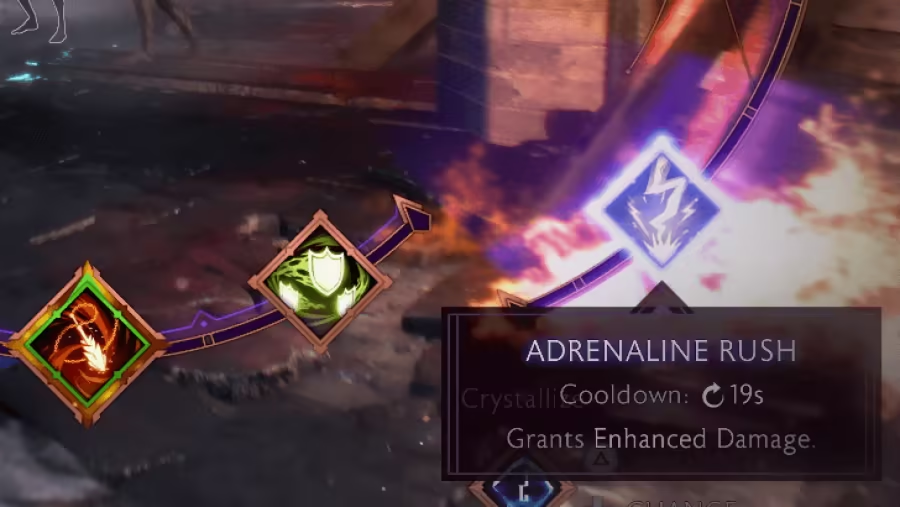
Make sure to activate Rook and your companions' buffs to aid the team. For example, casting Lucanis' Adrenaline Rush increases Rook's damage stats.
Casts Detonators to Trigger Primers
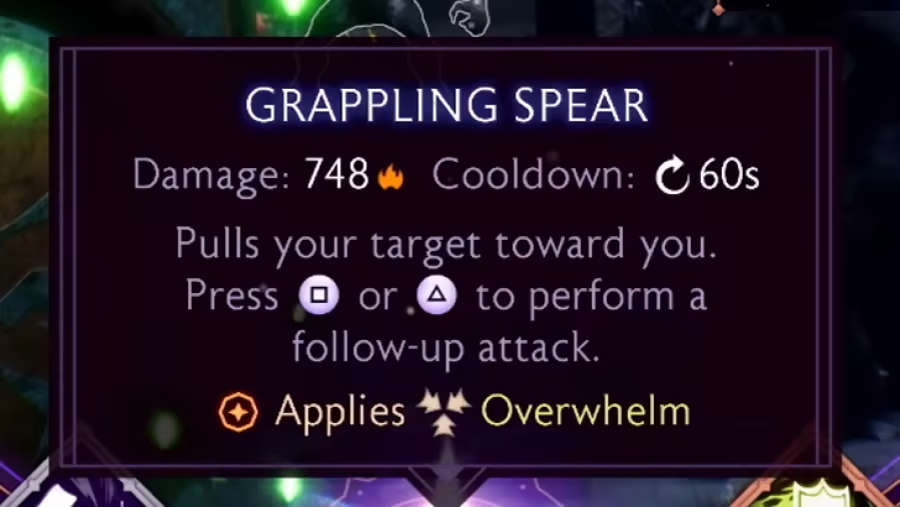
Some of Rook and their companions' abilities are Primers and Detonators. Primer abilities apply a status effect on enemies such as Sunder, Overwhelmed, and Weakened. Detonator abilities deal massive damage to enemies if they are primed with a status effect.
For example, Rook's Grappling Spear inflicts the Overwhelm status effect on an enemy. The status effect can be detonated to deal a lot of damage after casting Lucanis' Eviscerate!
Companion Primer and Detonate Skills
| Companion | Skill | Type | Applies/ Detonates |
|---|---|---|---|
| Bellara | Enfeebling Shot | Primer | Weakened |
| Bellara | Fade Bolts | Detonate | Sundered |
| Davrin | Death from Above | Detonate | Weakened |
| Davrin | Heroic Strike | Primer | Overwhelmed |
| Emmrich | Entangling Spirits | Primer | Weakened |
| Emmrich | Final Rites | Detonate | Sundered |
| Harding | Heavy Draw | Detonate | Overwhelmed |
| Harding | Shred | Primer | Sundered |
| Lucanis | Debilitate | Primer | Sundered |
| Lucanis | Eviscerate | Detonate | Overwhelmed |
| Neve | Glacial Pace | Primer | Weakened |
| Neve | Icebreaker | Detonate | Sundered |
| Taash | Dragonfire Strike | Detonate | Weakened |
| Taash | Spitfire | Primer | Overwhelmed |
Activate Rook's Ultimate Attack
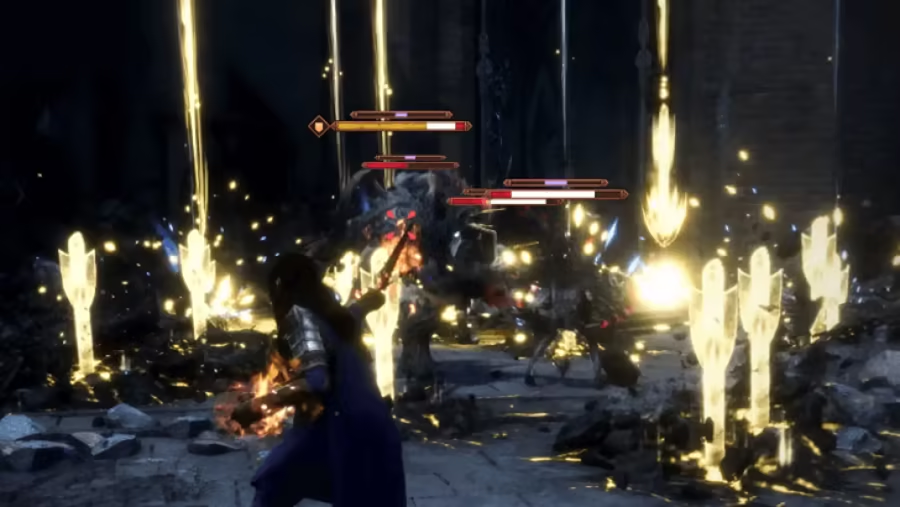
Rook can eventually activate their most powerful ability in battle, their ultimate attack. The best time to use it depends on the ultimate attack type. If it is an AoE ability for example, then use it against a group of enemies.
Dragon Age: The Veilguard Related Guides

Beginner's Guide: Tips and Tricks


